
Using Meetings and Rooms
Objective
In this article, you will learn how to join and use meetings and rooms features in the Corenexa Desktop and browser applications.
How To
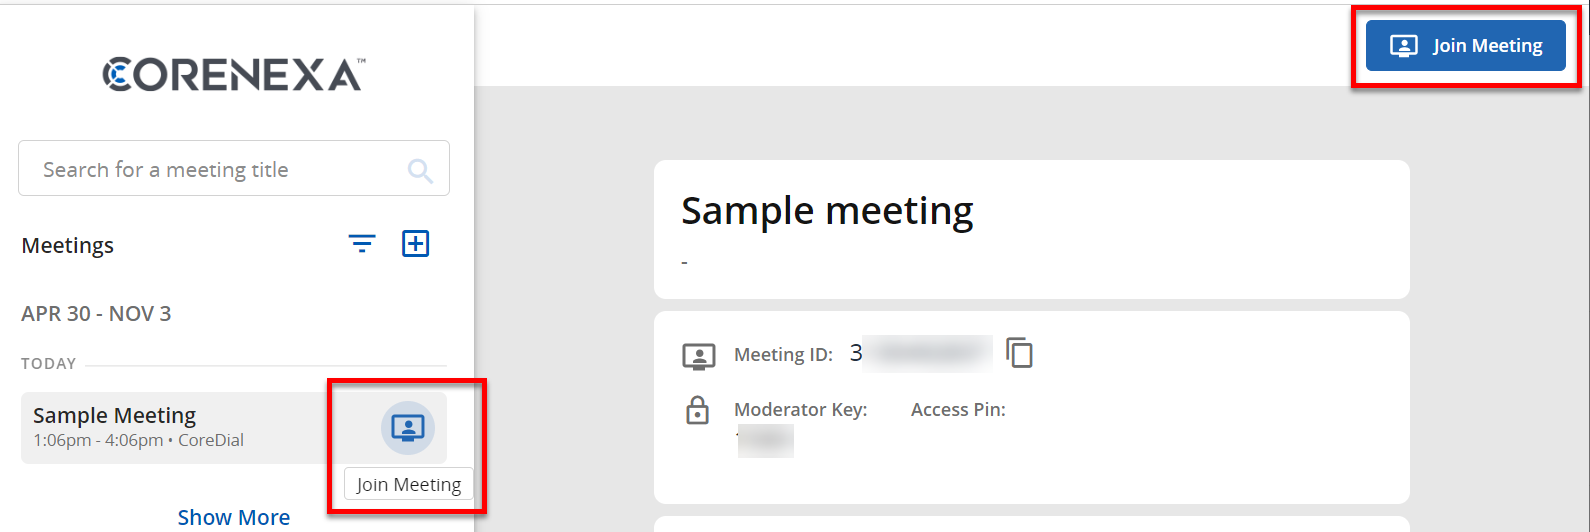
When a user clicks on the Join Meeting button whether when hovering over a meeting or room name (see picture below) or from the upper right area of the meeting or room details, a separate tab opens in the user's web browser and a connection to that meeting or room is started.
Before entering the meeting, the user is (by default) presented with a camera / microphone settings screen as seen below. On this page the user can check which camera and microphone are to be used as well as whether to enter the meeting with the microphone or video enabled or disabled.
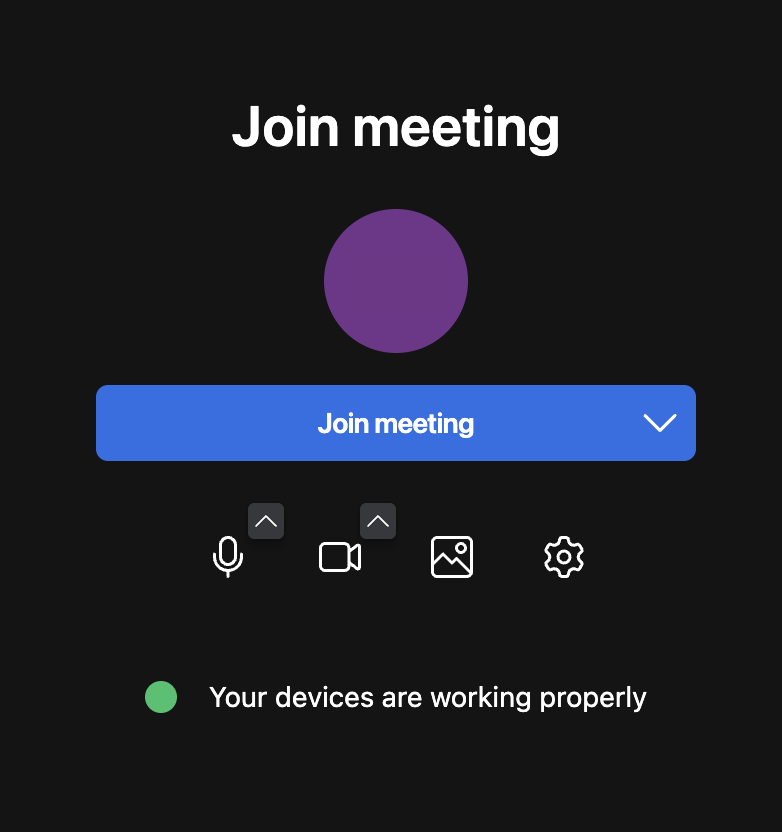
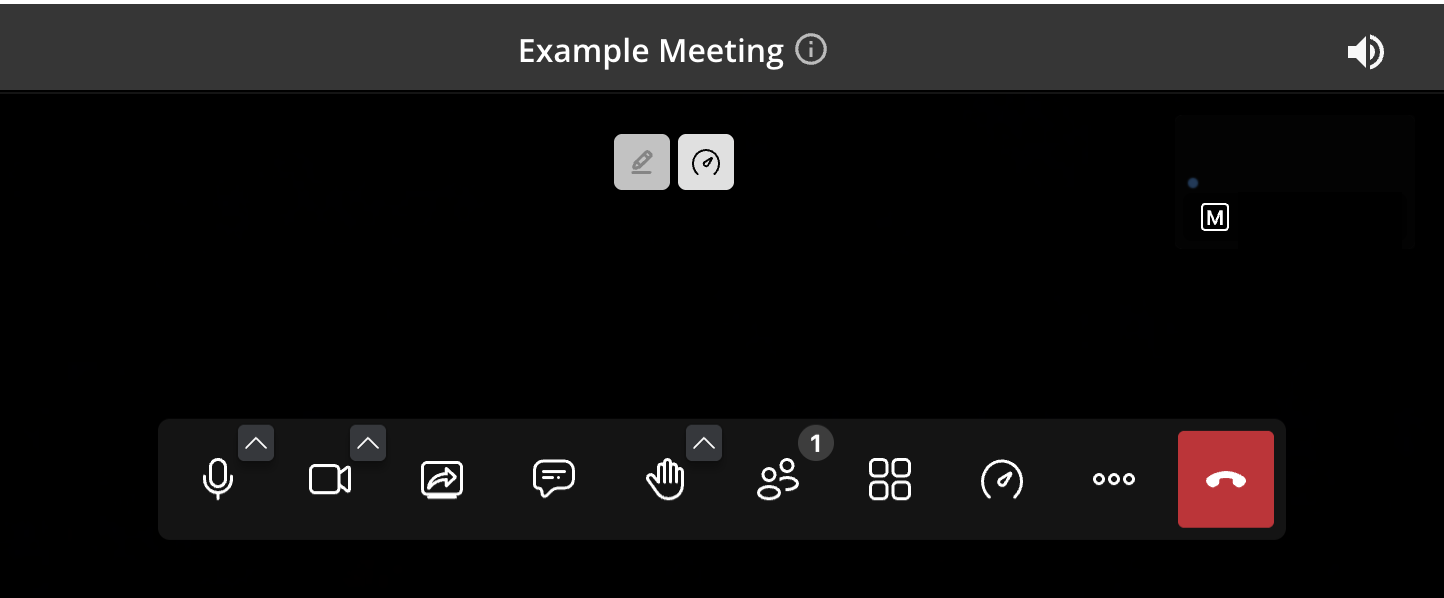
Once the user is ready to join they can click on the Join meeting button to enter. The meeting controls will be shown at the bottom of the viewing area, as seen below.
In Meeting Controls
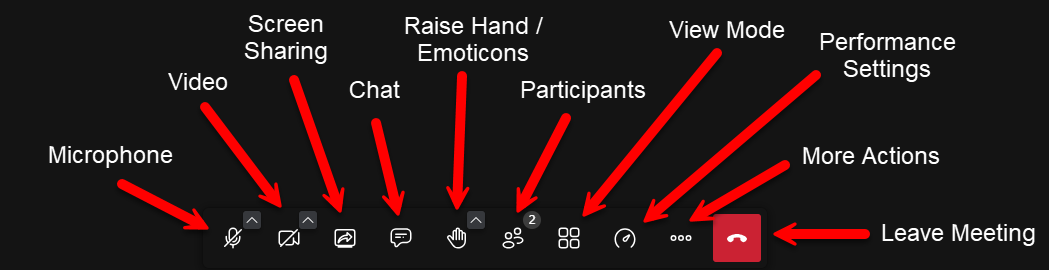
The in meeting controls are at the bottom of the video window. From left to right the controls are Microphone mute/unmute, Video on/off, Screen Sharing, Chat, Raise Hand, Participants, View Mode, Performance Settings, More Actions, and the Leave Meeting button.
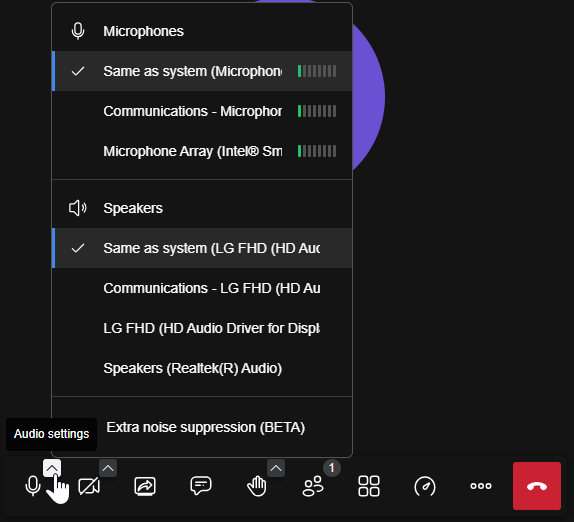
Microphone
Clicking this will either mute or unmute your microphone and the caret (^) icon when clicked opens the audio settings where you can control which microphone or speakers to use when you have more than one available.
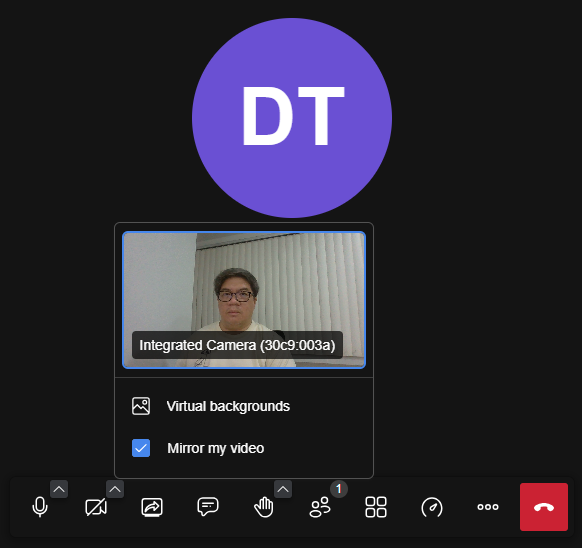
Video
Clicking this will either turn your camera on or off and the caret (^) icon when clicked open the video settings where you can see you current camera view when turned on, access to choose a virtual background, and a control to mirror the video being sent to other users.
Screen Share
Clicking this will open the screen sharing options where you can choose to share a specific browser tab, a whole application window, or the entire screen of your computer (if you have multiple monitors you can also choose which monitor screen to share). There is also a control at the bottom to share audio but is only available for browser tab and entire screen sharing.
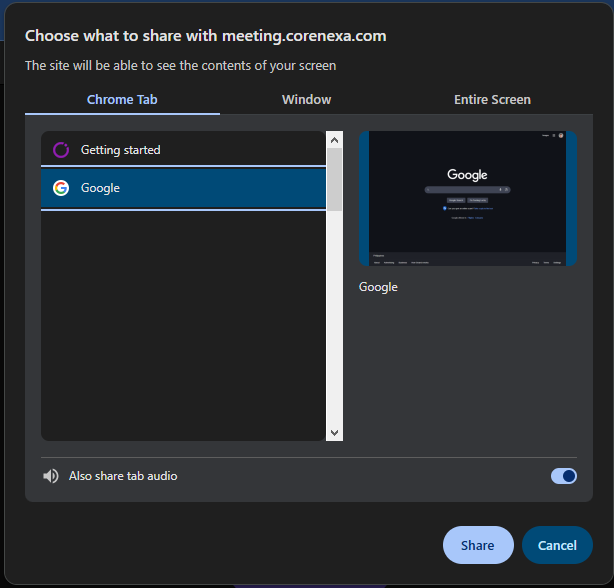
The CoreNexa Browser Client screen sharing works in Chrome, Edge and FireFox. Screen Sharing not work in Safari at this time.
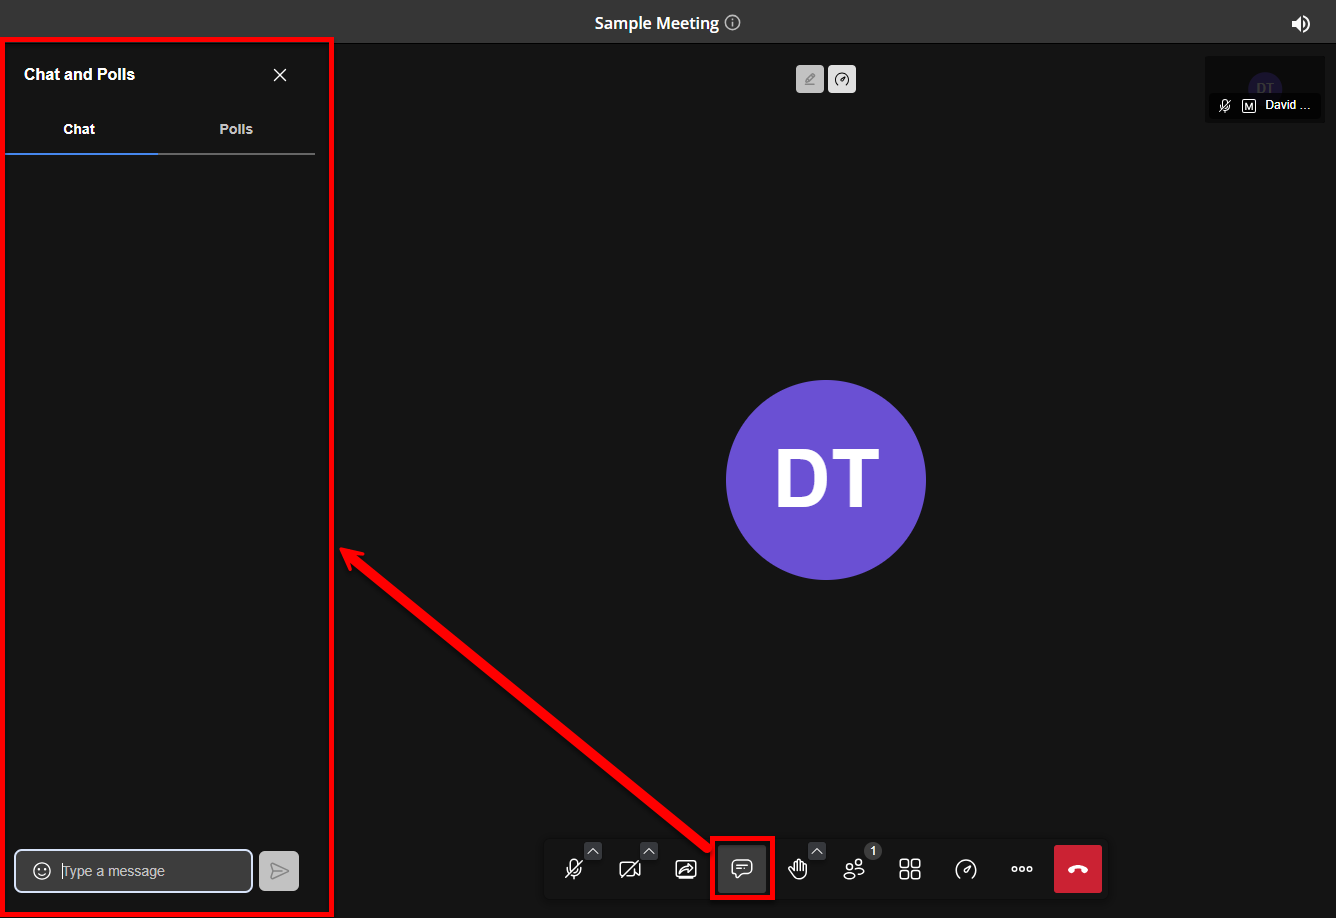
Chat
Clicking this will either open or close the chat area on the left which is used for messaging to all the participants and their is also a Poll which can be used to poll the participants for a vote/choice.
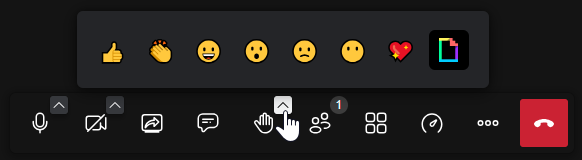
Raise Hand
Clicking this will signal your intent to want to speak. This is useful for when your mic is off (can still be used even if on) and you want to signal to the current speaker or moderator that you want to speak or ask a question so that they can let you in turn speak and if needed turn on your mic. Clicking on the caret (^) icon will also show you other emoticons you can send/show during the meeting.
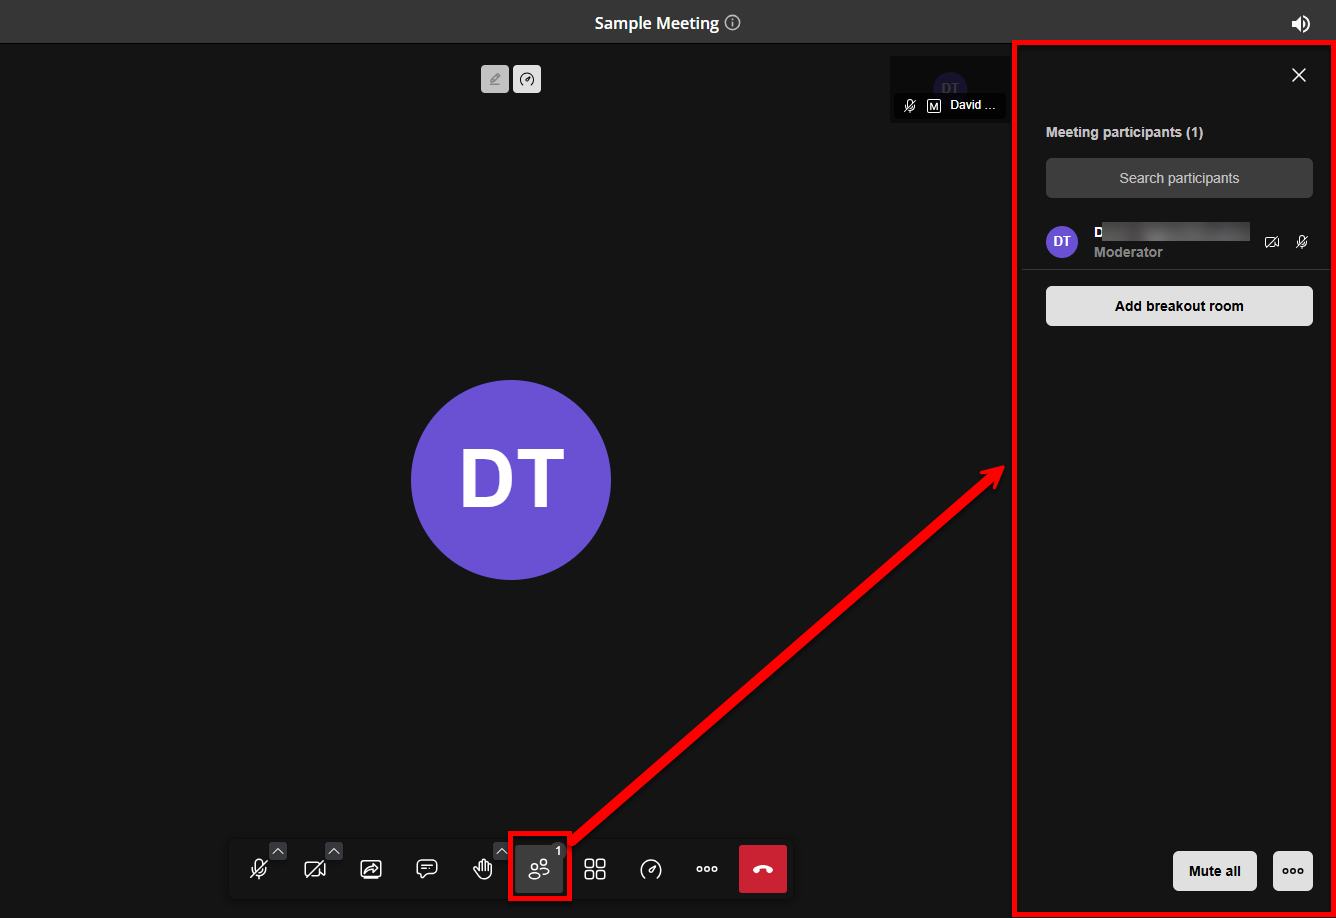
Participants
Clicking this will open the Participants list showing a list of all moderators and participants who have joined the meeting. You can also create a breakout room with the Add breakout room button below the participants list. At the bottom you will find a button to Mute all and for More moderation controls (button with three dots) that is only available to Moderators.
View Mode
Clicking this will let you change the way you view the participants and speakers for the meeting from the default view to the Tile View. Clicking on a participants view on the right side will also change the view to pin their video to the screen.
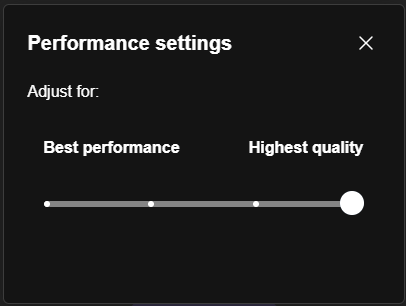
Performance Settings
Clicking this opens a dialog where you can use a slider to choose the quality of the video for the meeting somewhere from Best Performance to Highest Quality. This is useful for when the internet connection is unreliable but still want to view video but at slightly lower quality.
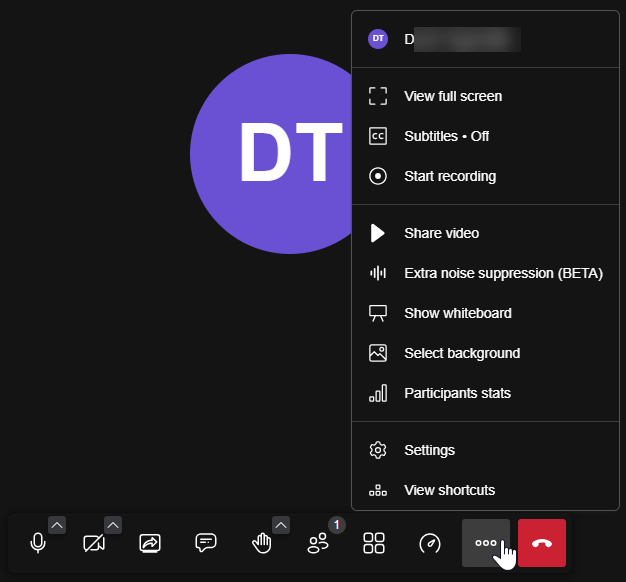
More Actions
Clicking this will bring up a menu for access additional meeting options, include full screen mode, subtitles, recording, share video options, extra noise suppression, show/hide Whiteboard, select meeting background, show participant stats, and additional settings, and view keyboard shortcuts.
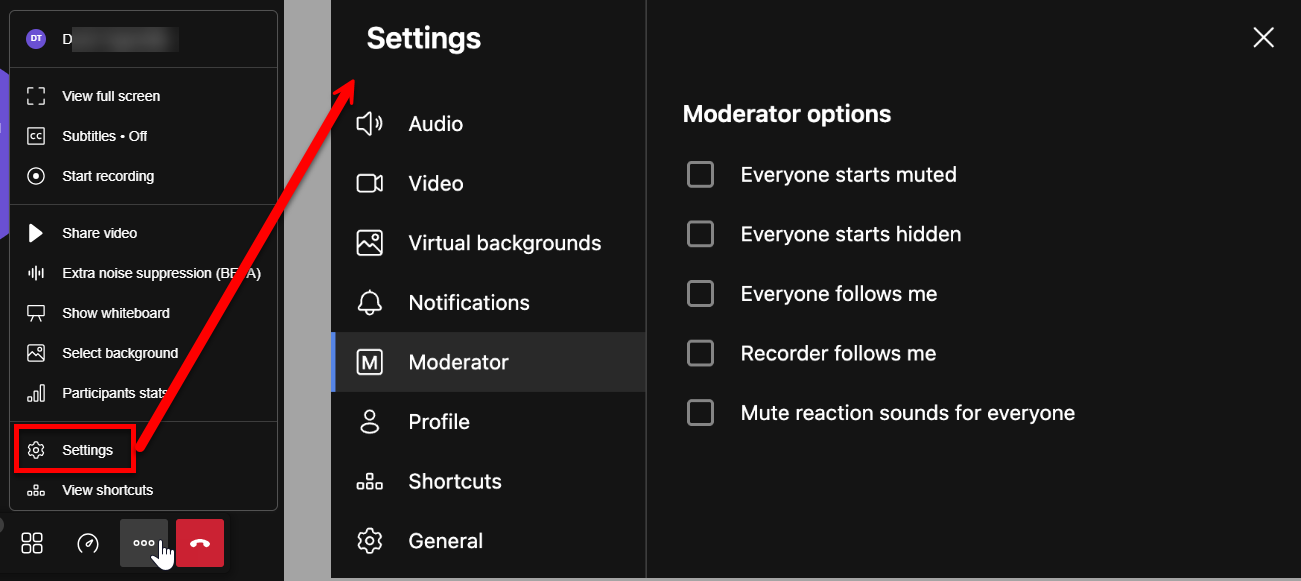
Settings
The Settings option in the More Actions menu allows access to Audio settings, Video settings, Virtual Backgrounds, Notification Settings, Moderator Settings, Profile Settings, Shortcuts, and General Settings.
Meeting Whiteboard
The Show Whiteboard option within the More Actions menu allows option in an active meeting, participants are able to view and collaborate within a "digital whiteboard" environment, meaning participants can express thoughts and ideas by creating visual representations, including the ability to draw, insert text, and use shapes.
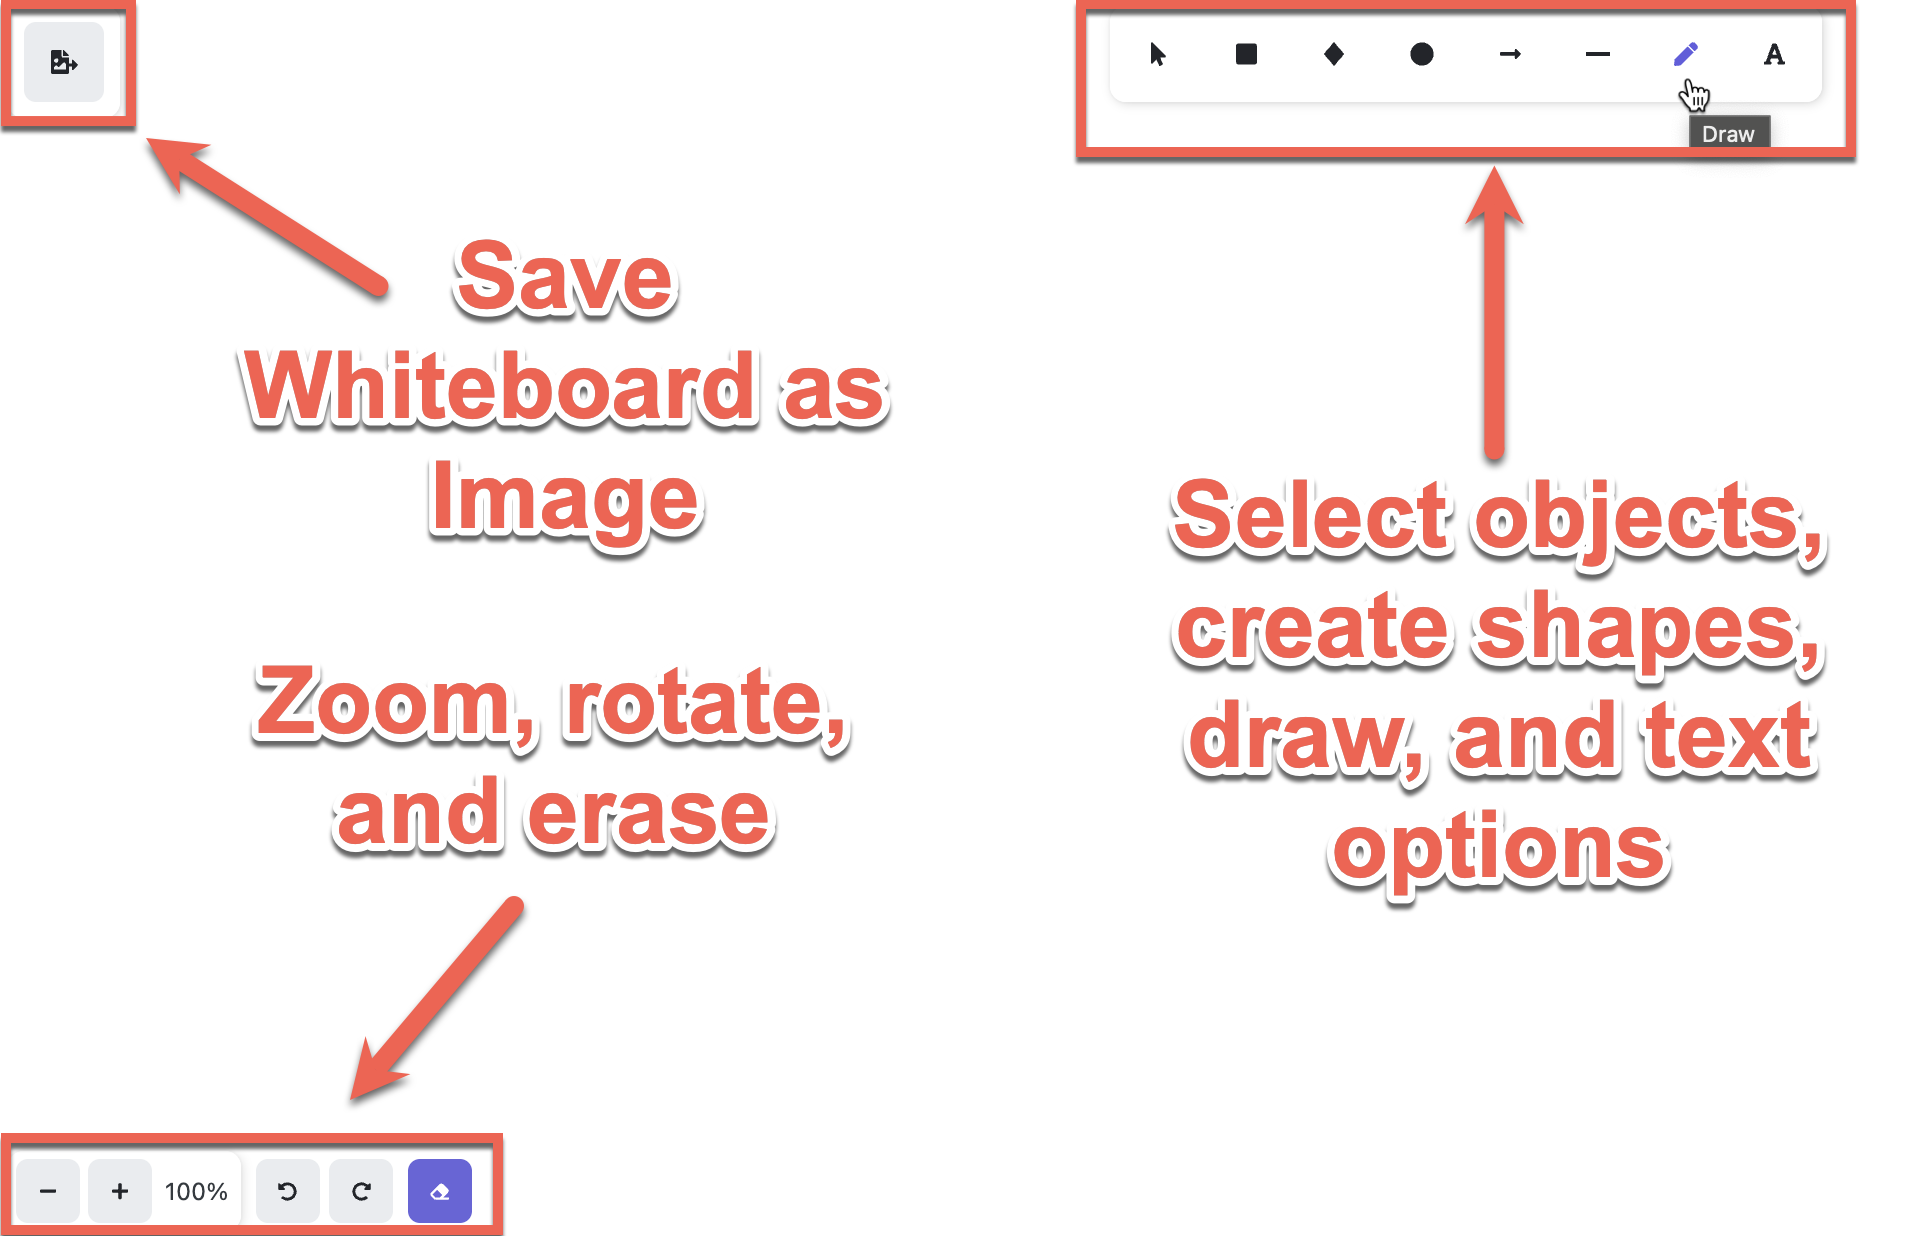
The Whiteboard settings allow participants to save the existing Whiteboard as an image file (top left), change view zoom, rotation settings and erase (bottom left), and utilize tools like pointers, shapes, arrows, drawing, and text (top right).