
PBX Admin Guide - Working with Inventory
10. Working with Inventory
The Inventory page allows you to manage your phone numbers and phone hardware.
- Displaying the Inventory Page
- Managing Phone Numbers
- Managing Phone Hardware
Displaying the Inventory Page
All inventory tasks are performed from the Inventory page. To display this page, click the Inventory  icon on the menu bar. The following page has two tabs:
- Phone Numbers allows you to filter, edit, and export phone numbers.
- Phone Hardware allows you to filter, add, edit, and export information about phone hardware.
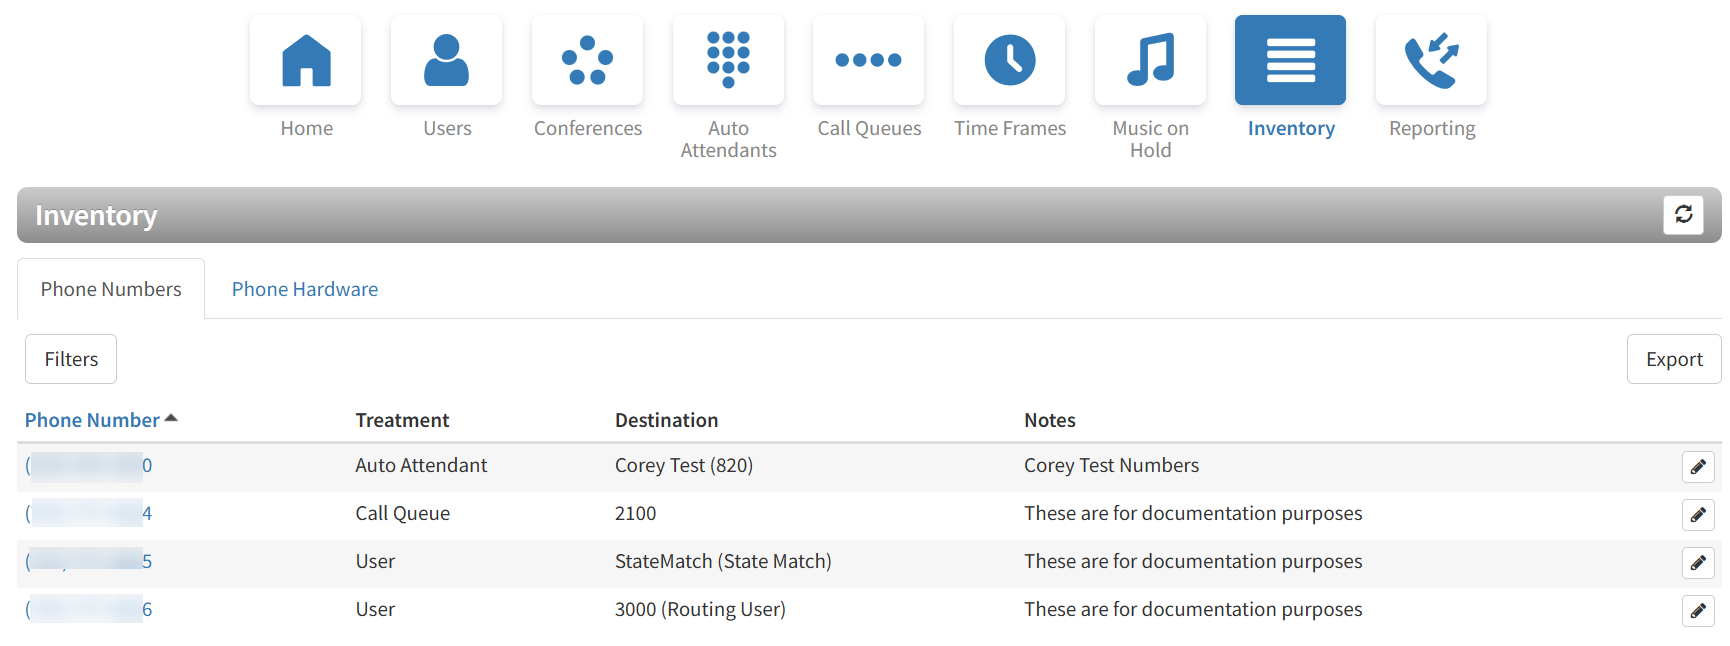
The refresh  button at the top-right side of the page refreshes the information on the page.
Note: You may sometimes find helpful information within the "Notes" column that can be added or edited in the Voice Route popup dialog or within the PBX Inventory page via the pencil icon to the far right of the number selected. The notes entered will display within the PBX Inventory page and also within the Telco Phone Numbers Portal when changing SMS Routing settings via the "SMS" button.

From the Inventory, you can:
- Manage phone numbers.
- Manage phone hardware.
Managing Phone Numbers
The Phone Numbers tab allows you to filter, edit, and export phone numbers.
Filtering Phone Numbers
Using the Filters button, you can filter phone numbers and view only the numbers of interest to you.
- From the Phone Numbers tab, click the Filters button. The Phone Number Filters pop-up window appears.
- Fill in the fields as needed to set your filters (see Table 10-1 below).
- Click the Filter button. The Phone Numbers tab will reload to show only the phone numbers that match your criteria. If no phone numbers match your criteria, a message informs you that there are no matches to your filter.
Table 10-1.Phone Number Filter Settings
| Setting | Description |
|---|---|
| Phone number | Enter all or part of the phone numbers you want to view. |
| Site | Enter the site name to view. |
| Treatment | Select a treatment for the phone numbers you want to view. Choices are:
|
| Destination | Enter the name or extension of the phone destination. |
| Status | Select the status of the phone number to view:
|
| Notes | Enter optional notes about this phone number. |
Editing Phone Numbers
To edit phone numbers:
- From the Phone Numbers tab, either:
– Click a phone number
OR
– Click the edit icon at the far right of the phone number entry.
Either step displays the Edit pop-up window.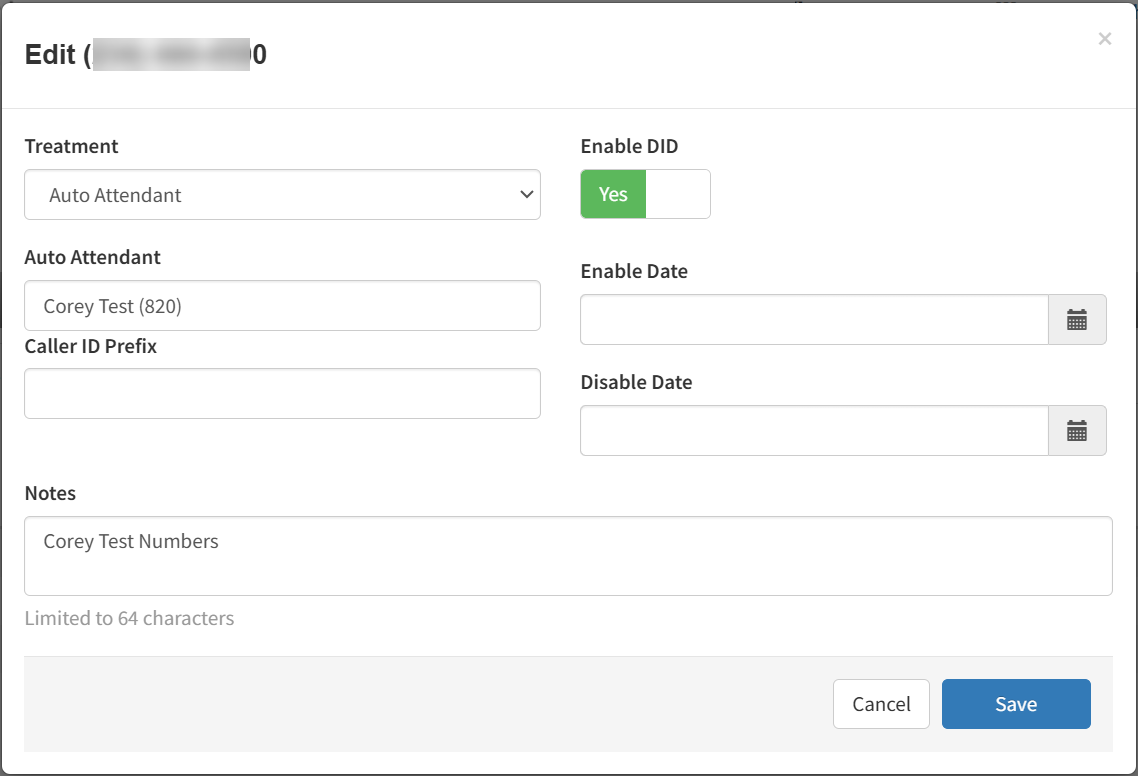
- Complete the field (see Table 10-2 below). Note that the field above the Caller ID Prefix changes depending on the selected Treatment for the DID.
- Click Save.
Table 10-2.Phone Number Edit Settings
| Setting | Description |
|---|---|
| Treatment | Select a treatment for the phone numbers you want to view. Choices are:
|
| Enable DID | Toggle switch to Enable (Yes) or Disable (No) the DID. To read more on this see our article Enabling or Disabling a DID. |
| Caller ID Prefix | Enter a prefix to the caller ID for this phone number. Range: up to 64 alphanumeric characters. |
| Enable Date | Select the date when the DID will be enabled. |
| Disable Date | Select the date when the DID will be disabled. |
| Notes | Enter optional notes about this phone number. |
Exporting Phone Numbers
You can export phone numbers in CSV format, and then open the phone numbers in Microsoft Excel for further manipulation.
- From the Phone Numbers tab, click the Export button.
- When prompted, click Save.
Managing Phone Hardware
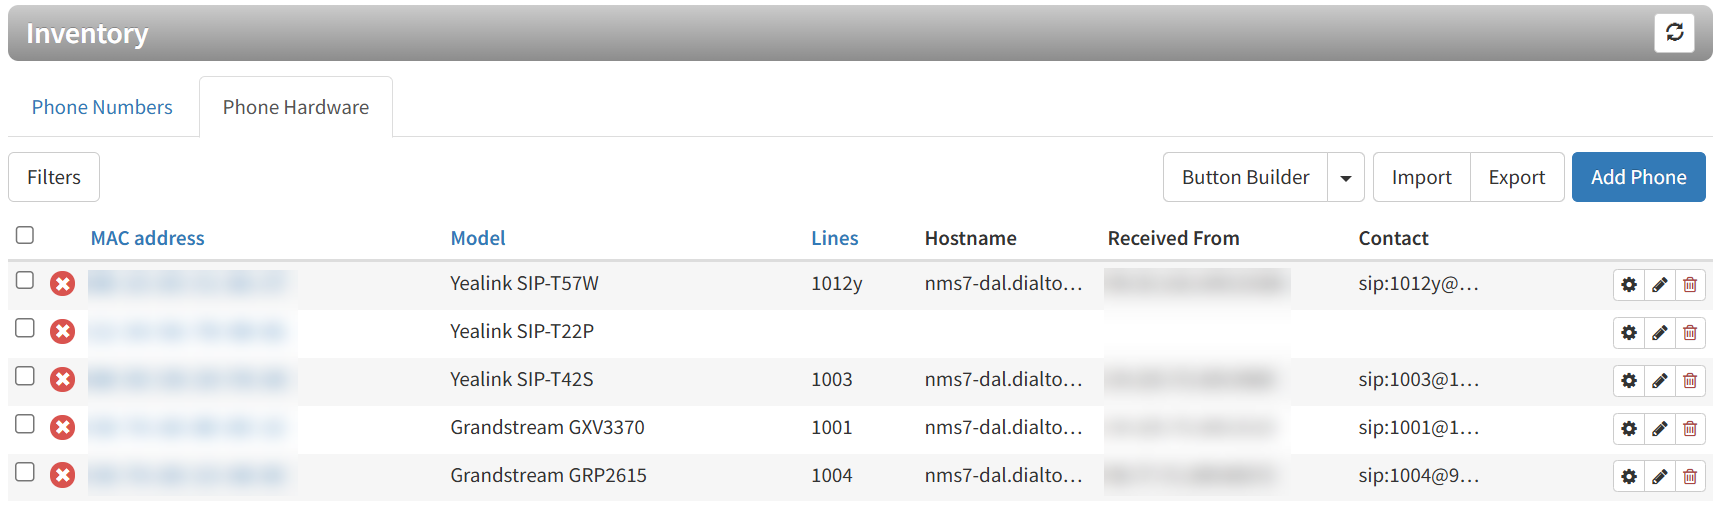
The Phone Hardware tab allows you to filter, add, edit, open Button Builder, importing phones, and export information about the phone hardware in your system.
Filtering Phone Hardware
Using the Filter button, you can filter phone hardware and view only the phones of interest to you.
- From the Phone Hardware tab, click the Filters button. The Phone Hardware Filters pop-up window appears.
- Complete the fields (see Table 10-3 below).
- Click the Filter button. The Phone Hardware tab shows only the phones that match your criteria. If no phones match your criteria, a message informs you that there are no matches to your filter.
Table 10-3.Phone Filter Settings
| Setting | Description |
|---|---|
| MAC Address | Enter all or part of the MAC address of the phones you want to view. |
| Brand | Select the brand name of the phones to view. |
| Model | Select the model of the phones you want to view, |
| Site | Enter a site name of the phones you want to view. |
| Extension | Enter a name or extension you want to view. |
| Notes | Enter optional notes about this phone filter. |
Adding Phones
To add phones:
- From the Phone Hardware tab, click the Add Phone button. The Add Phone pop-up window appears, with the Basic tab displayed.
- Complete the fields in the Basic tab (see Table 10-4 below). The fields that appear are based on the make and model of the telephone selected.
- Click Advanced, and then complete the fields in the tab (see Table 10-5 further below). The fields that appear are based on the make and model of the telephone selected.
- Click Save.
Table 10-4.Basic Phone Settings
| Setting | Description |
|---|---|
| Model | Adding a phone: enter the telephone’s make and model. The remaining fields that appear in this window depend on the make and model selected. Editing a phone: read-only field that shows the phone model. |
| MAC Address | Adding a phone: enter the telephone’s MAC address. Editing a phone: read-only field that shows the phone’s MAC address. |
| Line | If your phone make and model have one or more lines, enter them in these fields. The lines available for selection appear if the Add Phone Extension check box is checked when adding a user (see Table 4-1 in chapter 4). |
| Notes | Enter optional notes about this phone. |
Table 10-5.Advanced Phone Settings
| Setting | Description |
|---|---|
| Directory | If this setting is available for your make and model of phone, select a directory for this phone. |
| Overrides | Override configuration varies based on manufacturer. In this field, enter each override as either a new line OR as a space in between them. |
| Auth User | Enter the username for the phone. |
| Auth Pass | Enter the password for the phone. |
Editing Phones
To edit phones:
- From the Phone Hardware tab, either:
– Click a MAC address
OR
– Click the edit icon at the far right of the MAC address entry that you want. Either step displays the Edit pop-up window.
 - Complete the fields in the Basic and Advanced tabs (see Table 10-4 and Table 10-5 above).
- Click Save.
Open Button Builder for the Phone
From the Phone Hardware tab you can edit/create the Button Builder settings for the phone by clicking the gear  icon found in the far right of the MAC address entry for the phone.
Importing Phones
A quick way to add phones into the system is by importing them. The system accepts phones in comma-separated-value (CSV) format. As part of this procedure, you can download a CSV-formatted template that can be opened using Microsoft Excel, populate the template with phones, and then import the template.
- From the Phone Hardware tab of the Inventory, click the Import button and the Import Phones dialog appears.
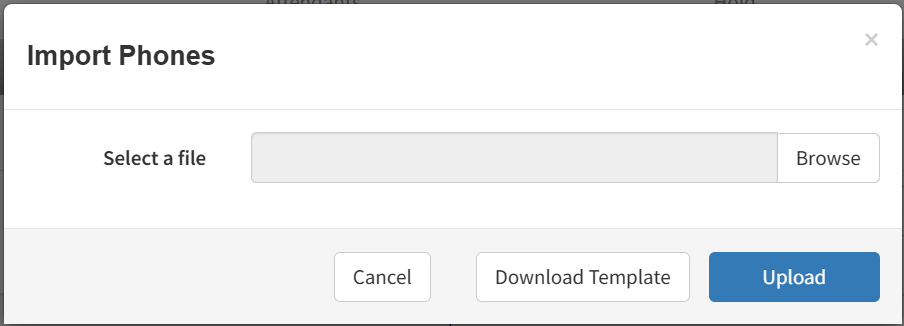
- To download a template that you can populate and import into the system, click the Download Template button.
- Save the template to an area you can access.
- Open the template, populate it with users, and then save the template.
- Click the Browse button, navigate to the location where the file containing the users to be imported is located, click the file, and then click Open.
- Click Upload.
Exporting Phone Hardware Information
You can export phone hardware information in CSV format, and then open the information in Microsoft Excel for further manipulation.
- From the Phone Hardware tab, click the Export button.
- When prompted, click Save.